Process
Writing, structuring, designing, illustrating, and revising the book took several years. This selection of images offers a small glimpse into the process of figuring out what we wanted to say and how we wanted to show it.
Concept development
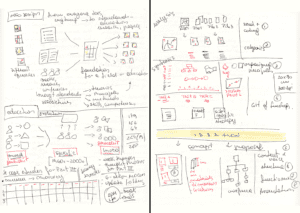
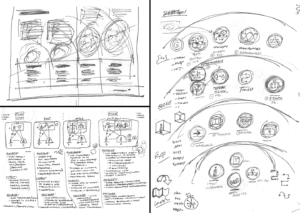


One of our first tasks was to plot out the key players and core elements of an information design project.

In thinking about how information design came to be, we examined the convergence of historical shifts that occurred over time.

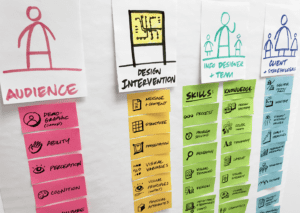
To clarify what it means to be a professional information designer, we tried showing different qualities and ways of engaging in the work.

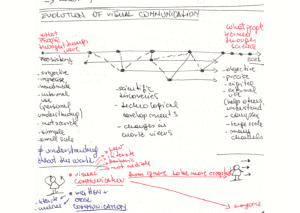
We looked at the evolution and formalization of information design practice broadly, as well as the sensemaking activities involved in the process.

It took many iterations to accurately depict a central concept of the book: the four-level scale of information design challenges (building on existing work).
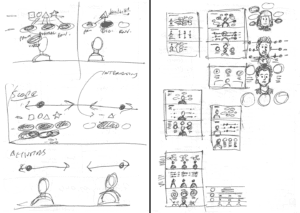
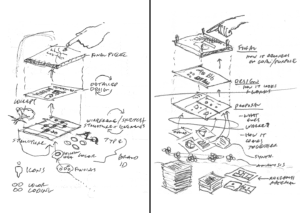
Rather than reuse existing scientific diagrams, we explored ways to holistically show the visual information processing system.
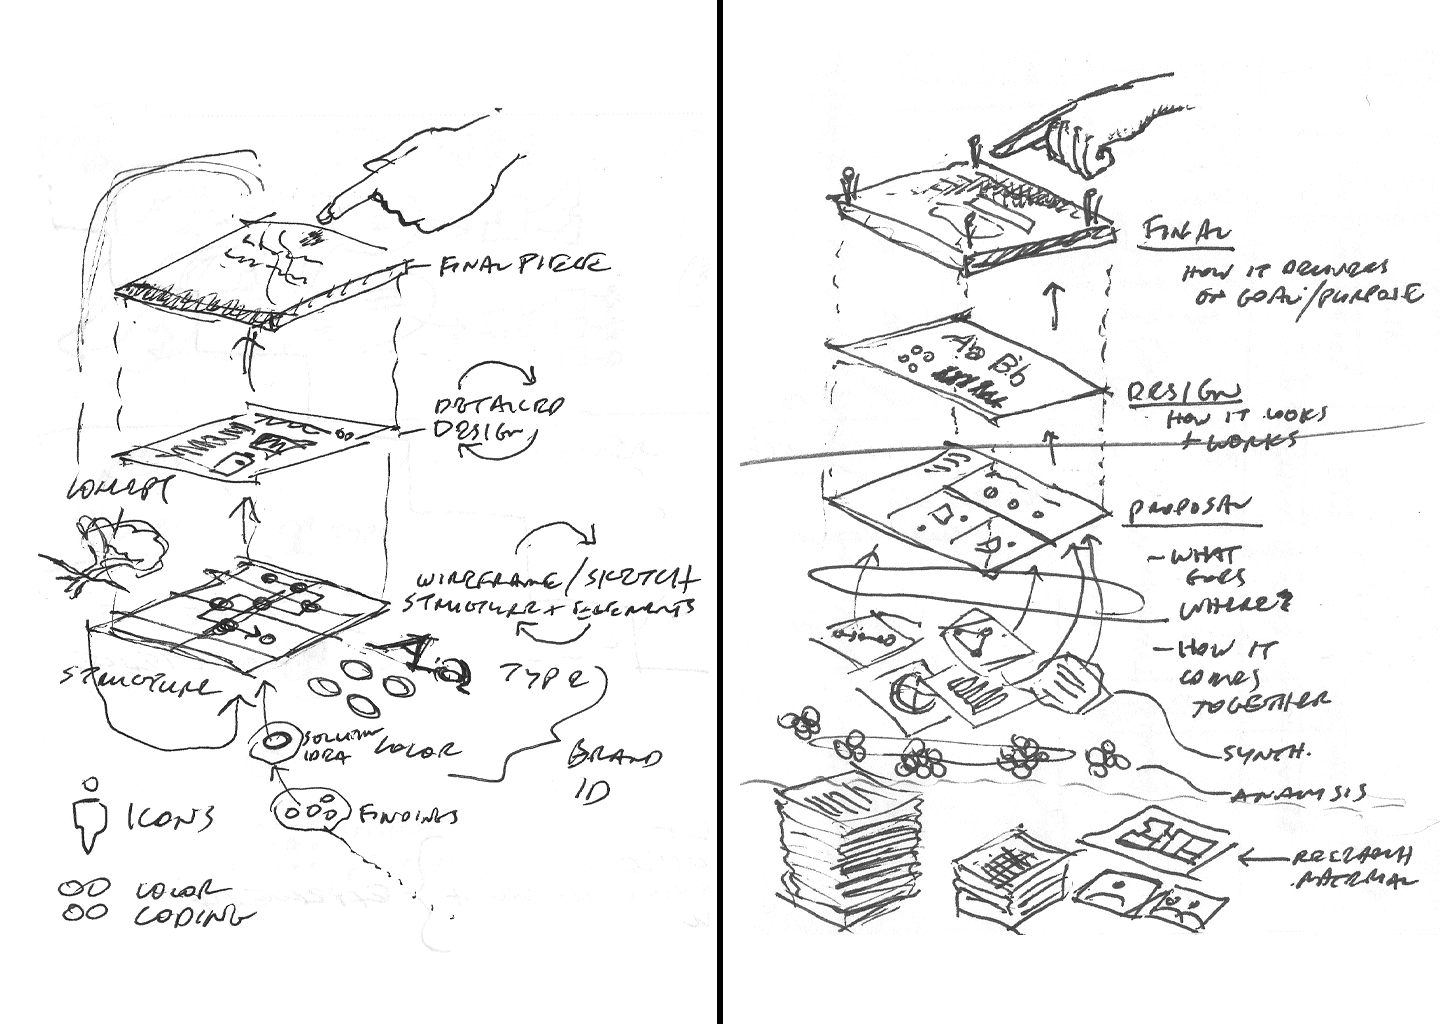
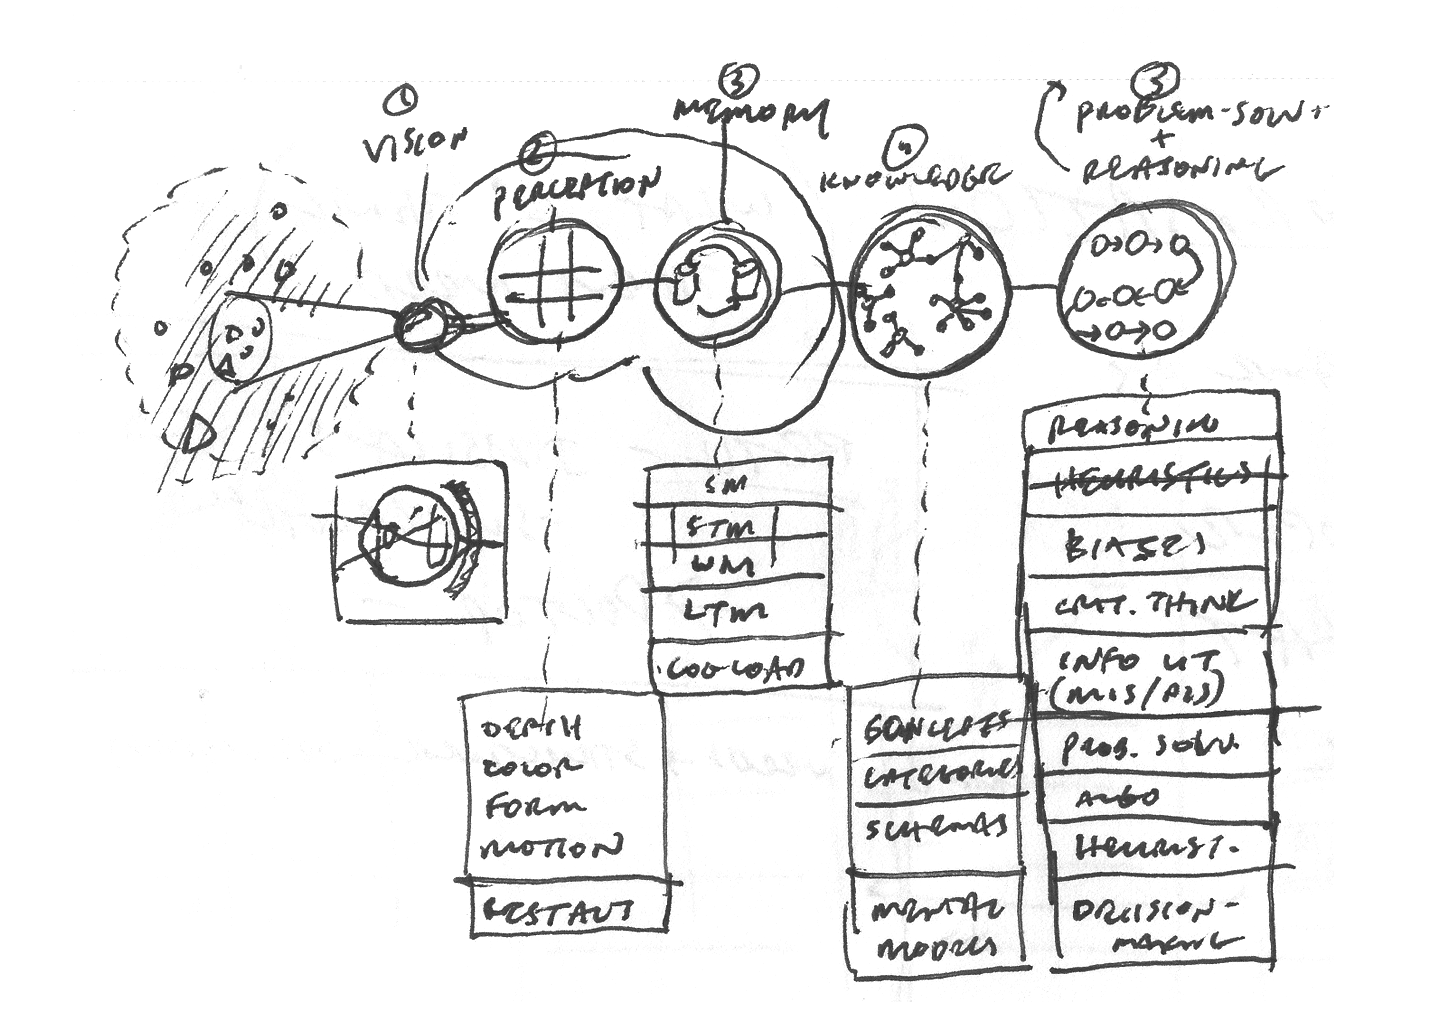
We sketched out the “layers” involved in the creation of an information design intervention, from start (bottom) to end (top).
Book structure
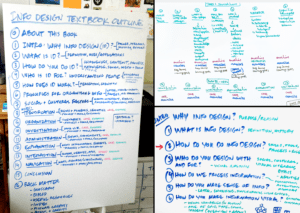

We used whiteboards to start developing the outline. It was a process deciding what to include and how to sequence topics while managing scope.
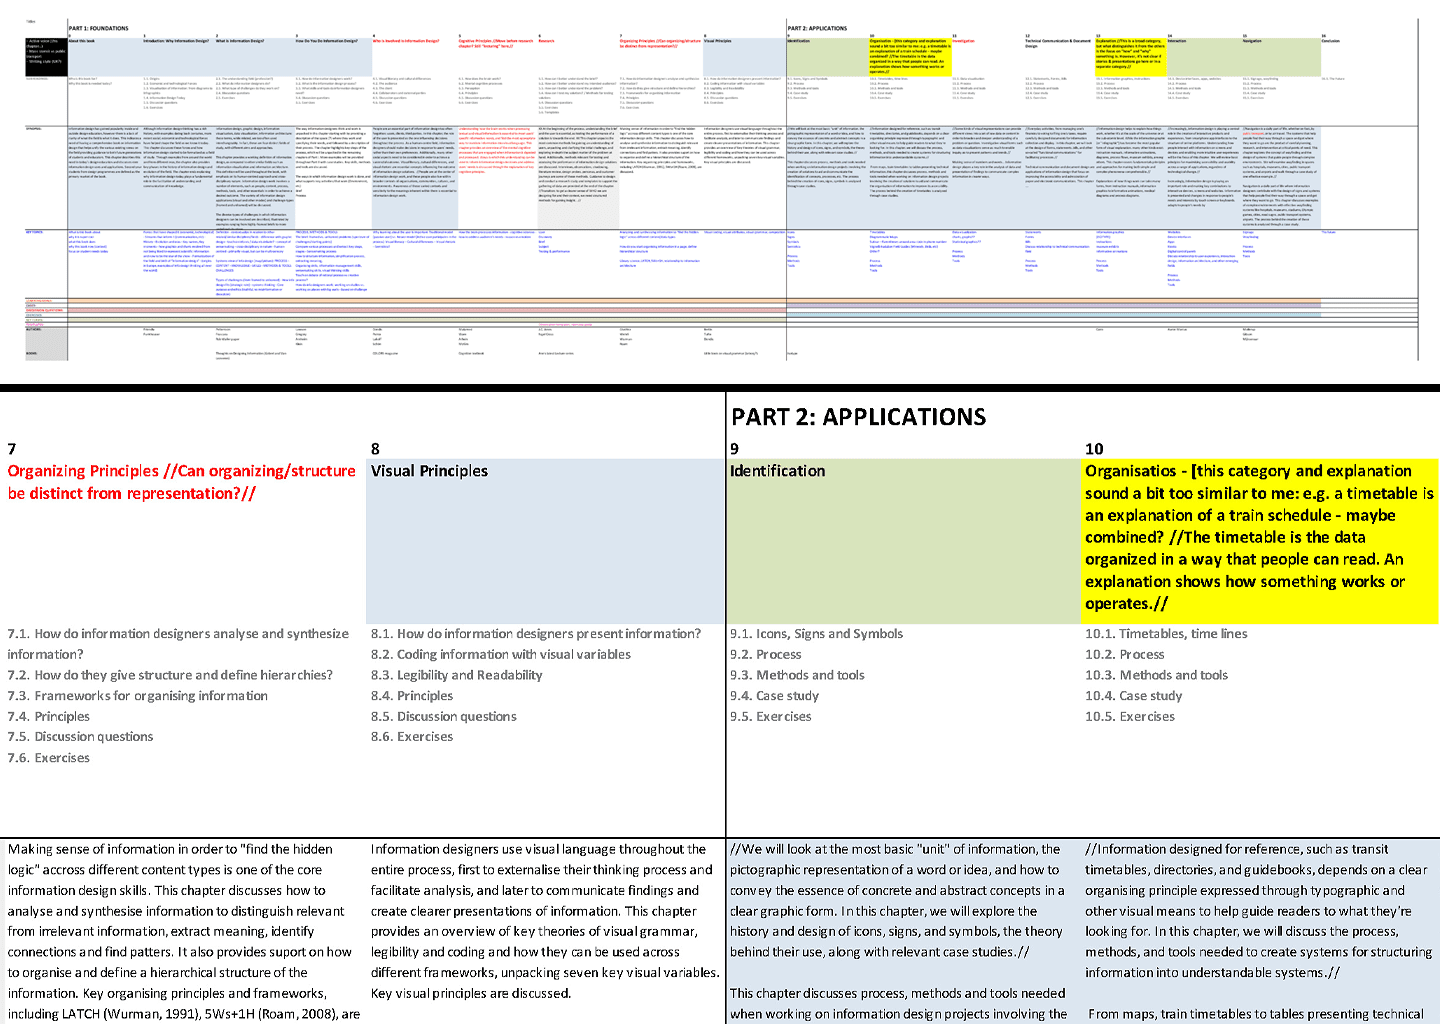
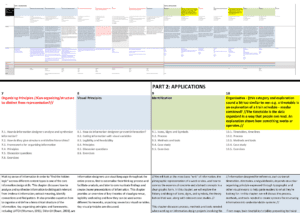
Working in Excel helped us structure the outline and develop chapter overviews and instructional components.

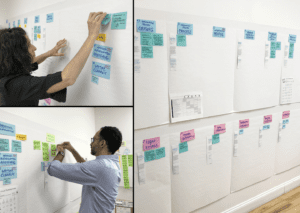
When the Excel outline became hard to work with, we transferred it to a wall so we could add and move information directly.
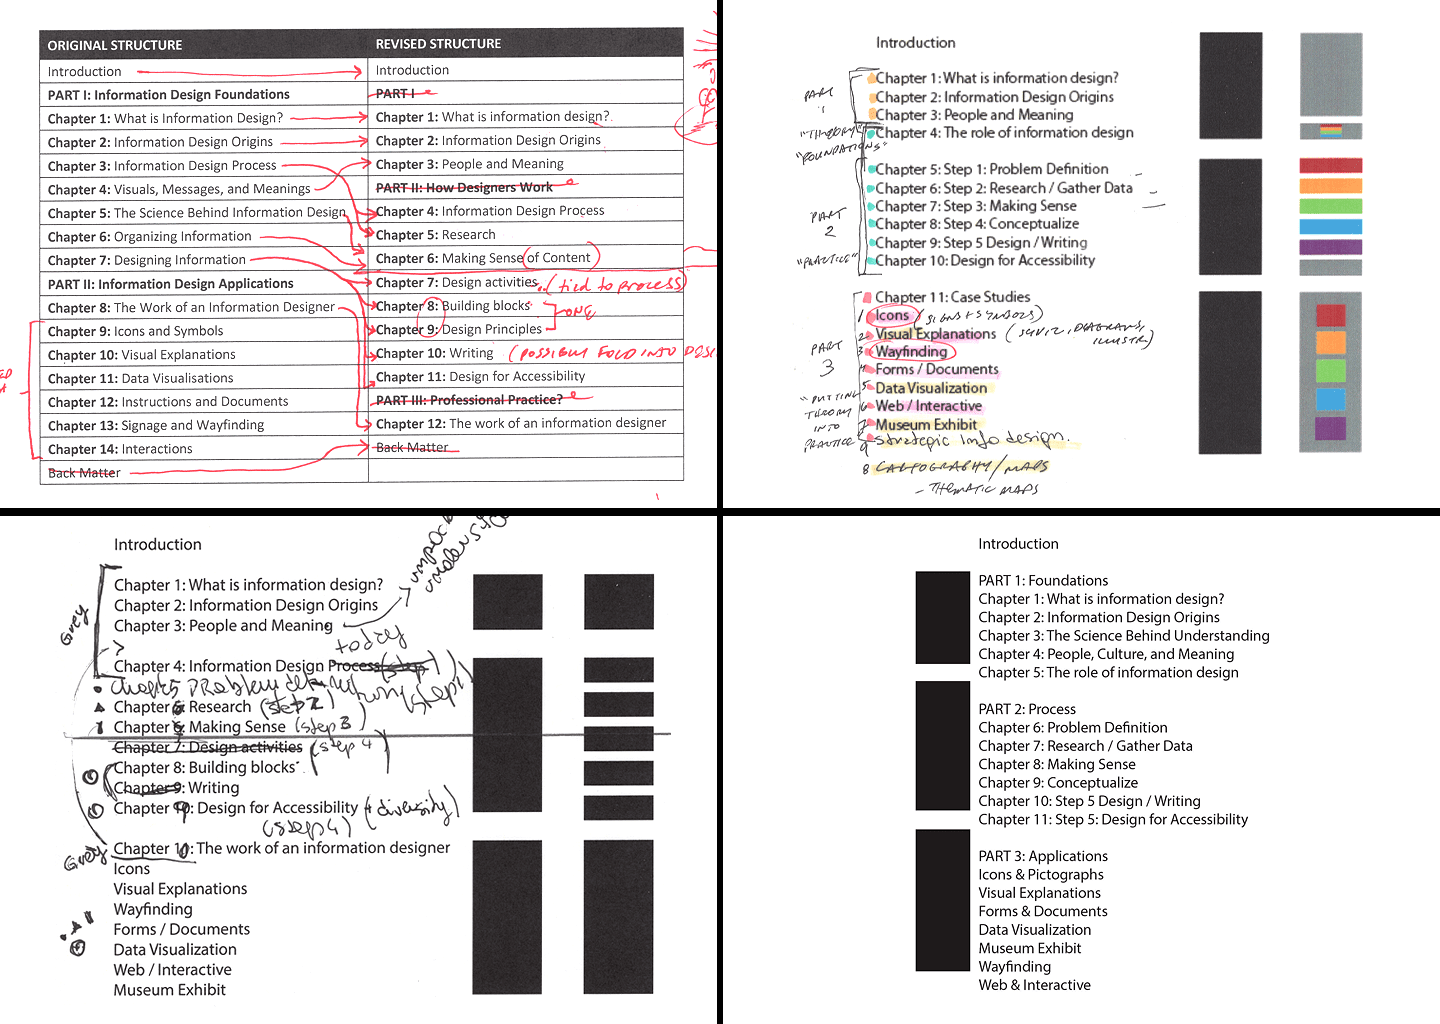
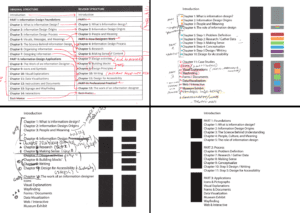
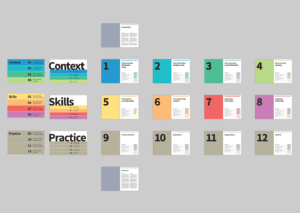
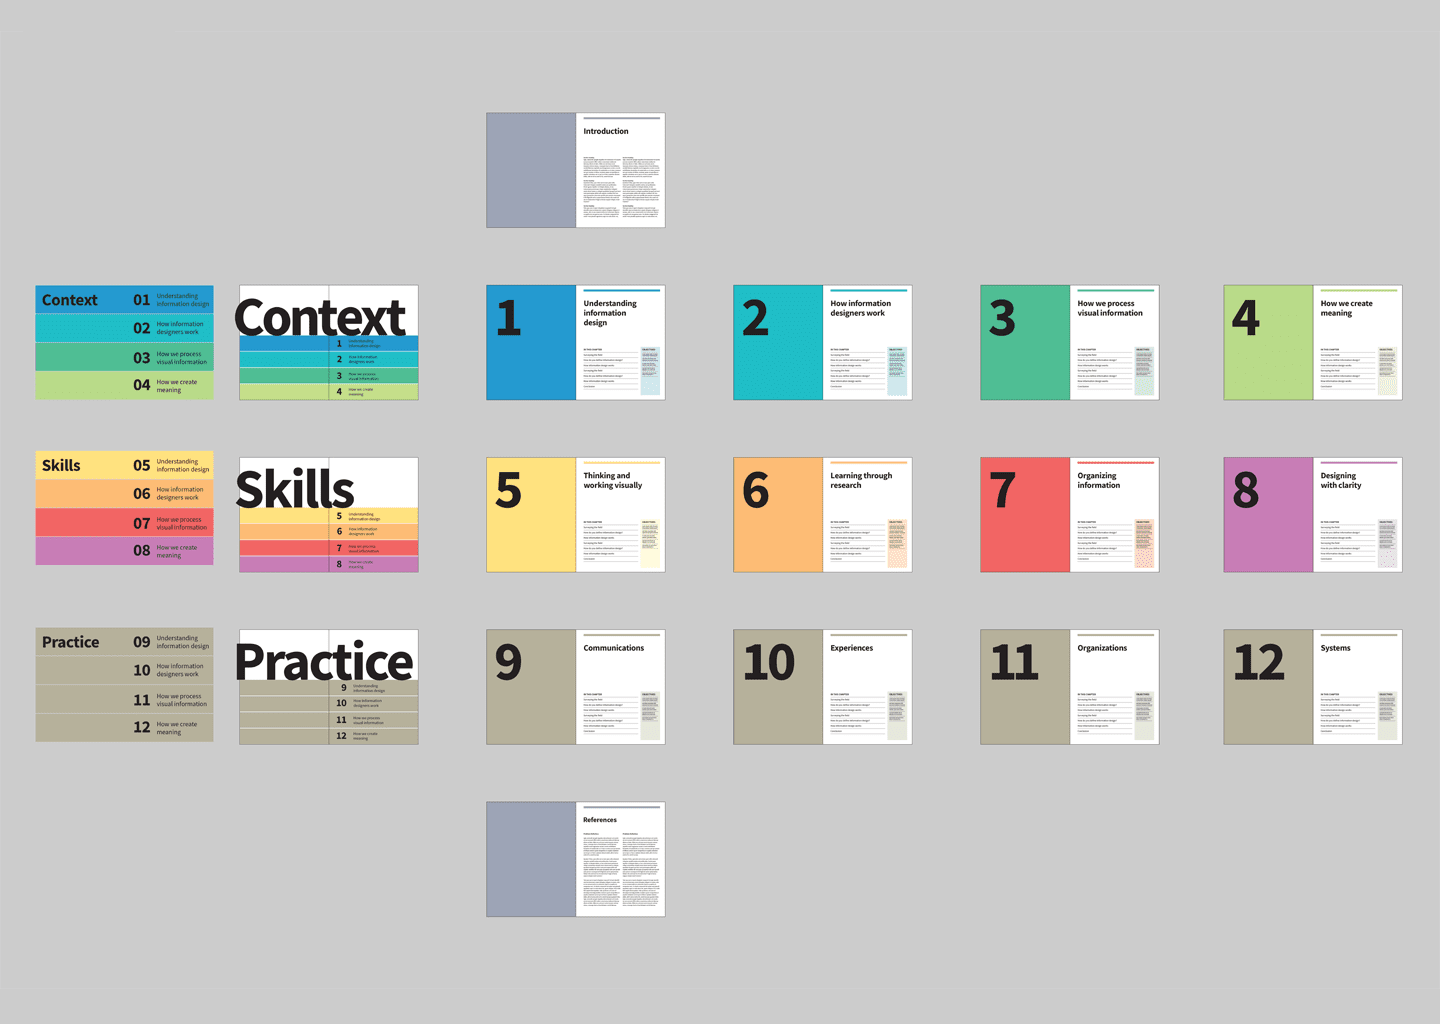
The outline underwent several revisions until we arrived at the final 3-part, 12-chapter structure.
Cover design


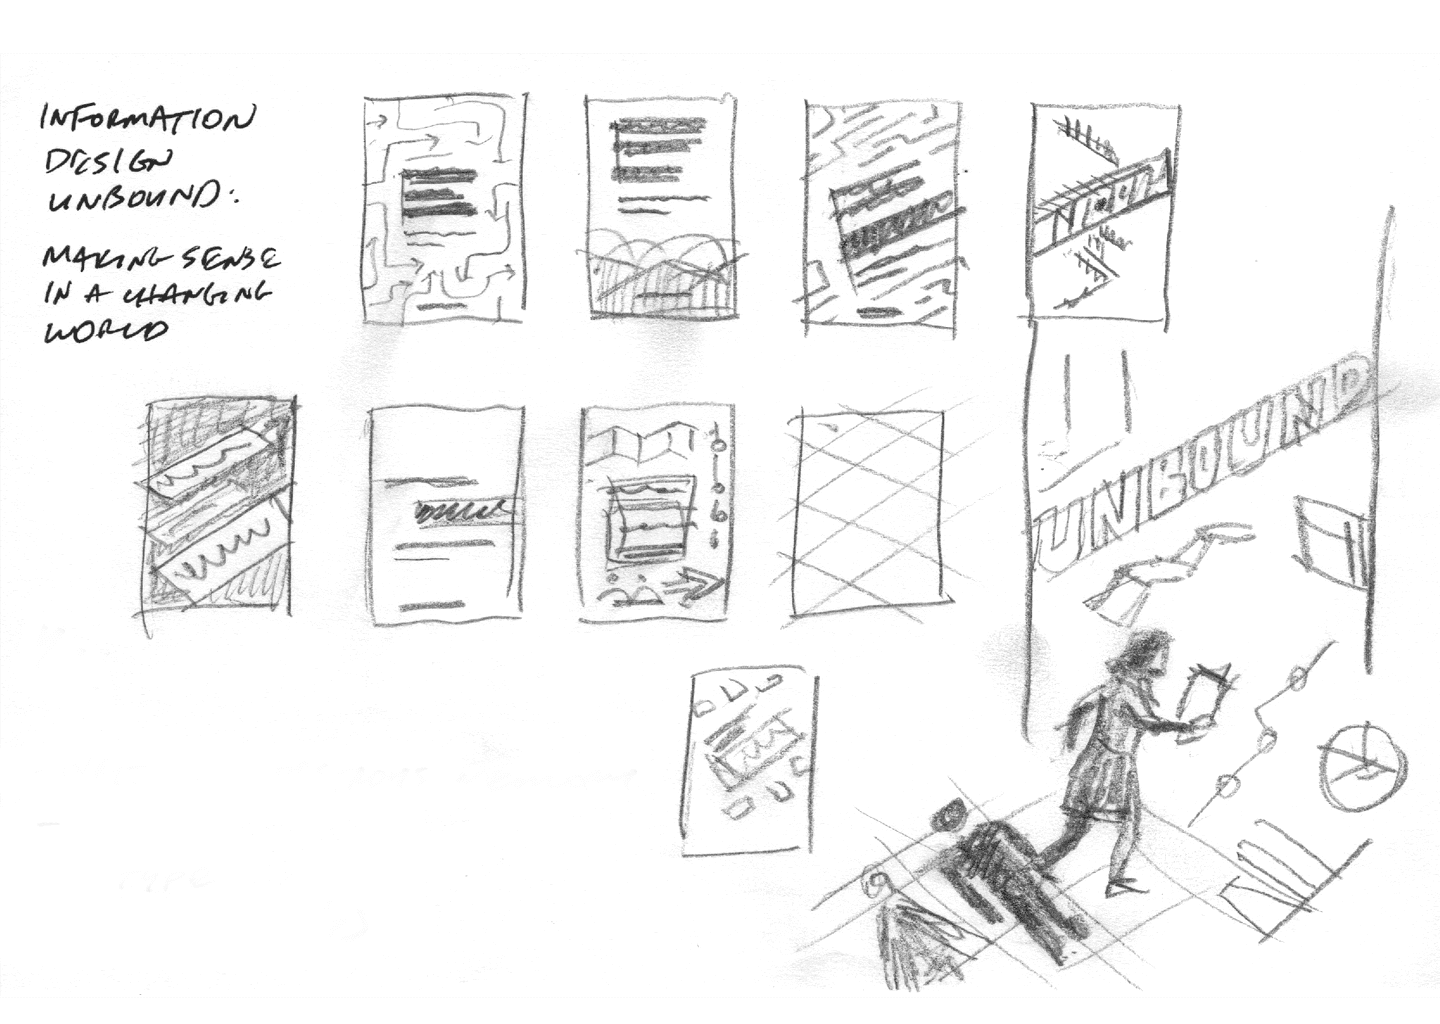
Our earliest thumbnail sketches for the cover spanned a wide range of visual concepts (before we narrowed down the content).

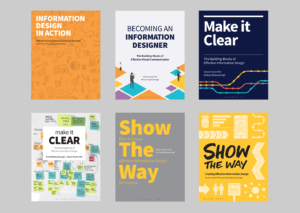
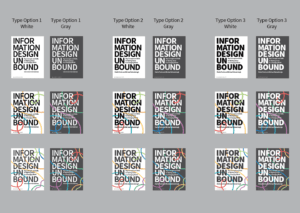
In the first round of book cover design options, we tested several book titles and played with type and imagery.
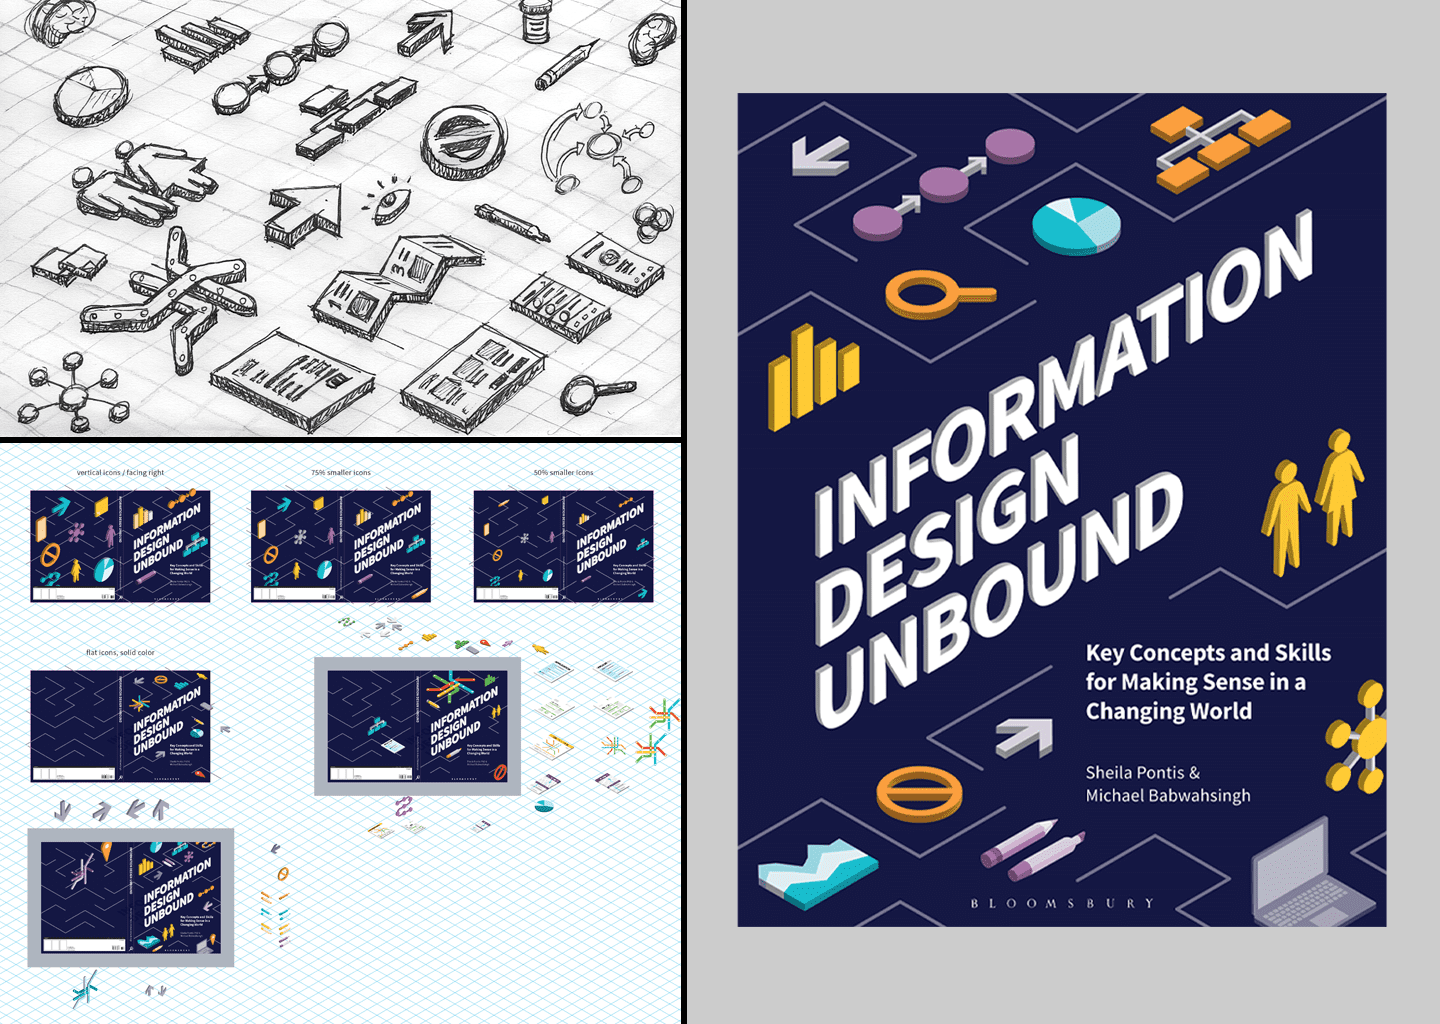
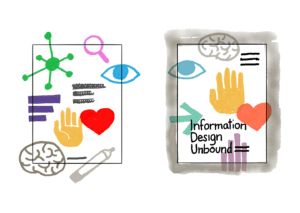
The first cover we proposed used isometric illustration and skewed type. Reactions were mixed.
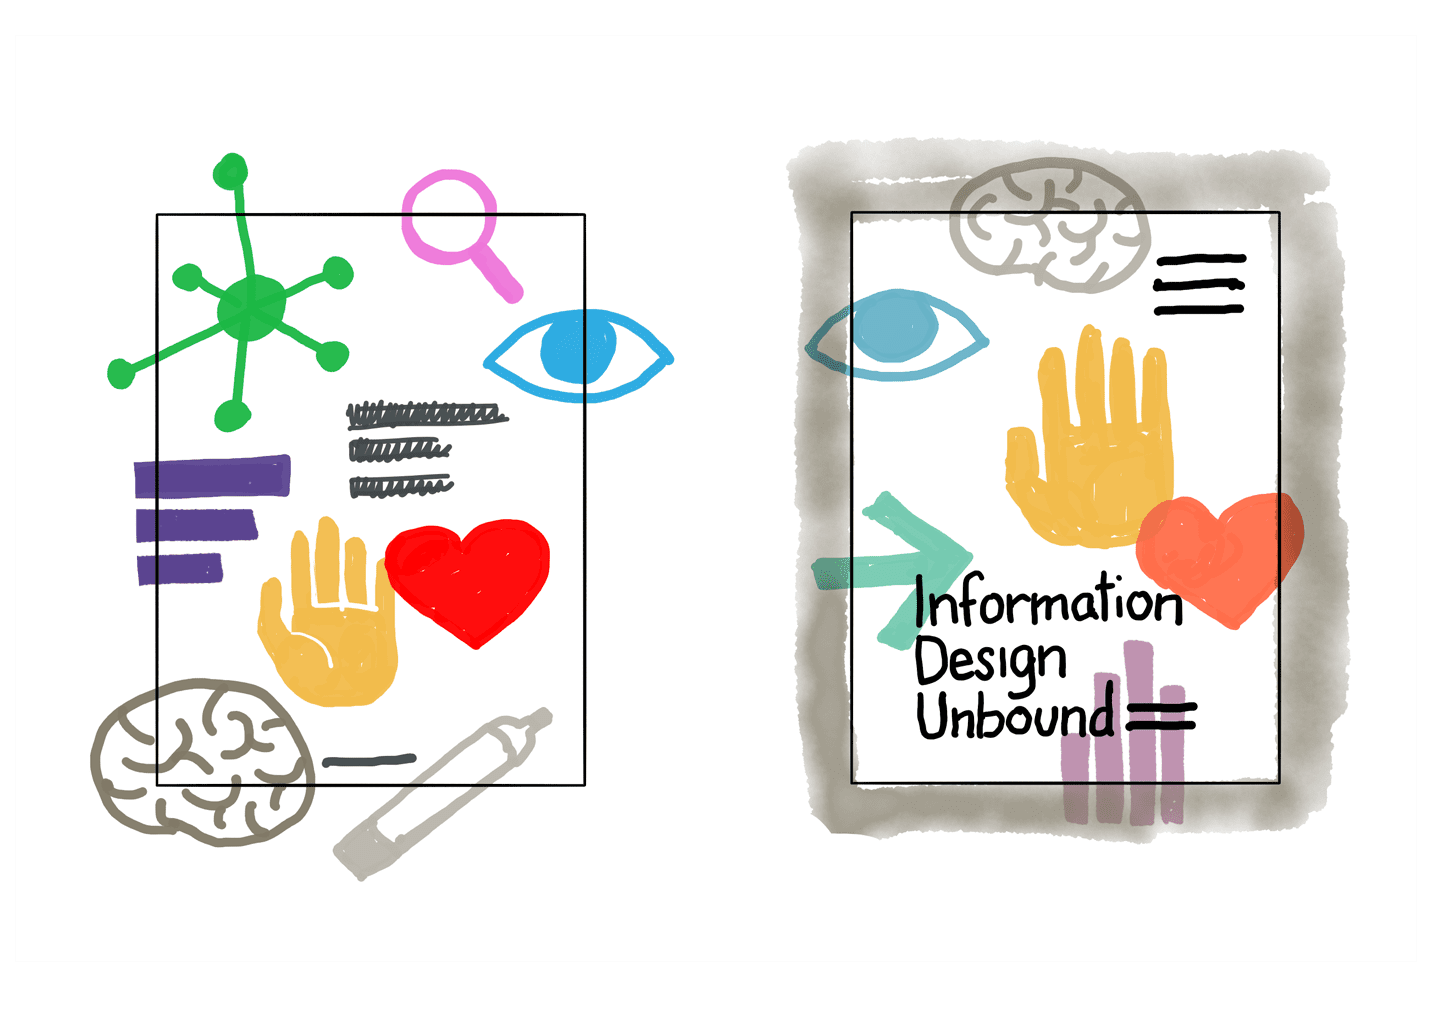
In the second round of cover explorations, we went back to sketching to test out a simpler and more graphic approach.
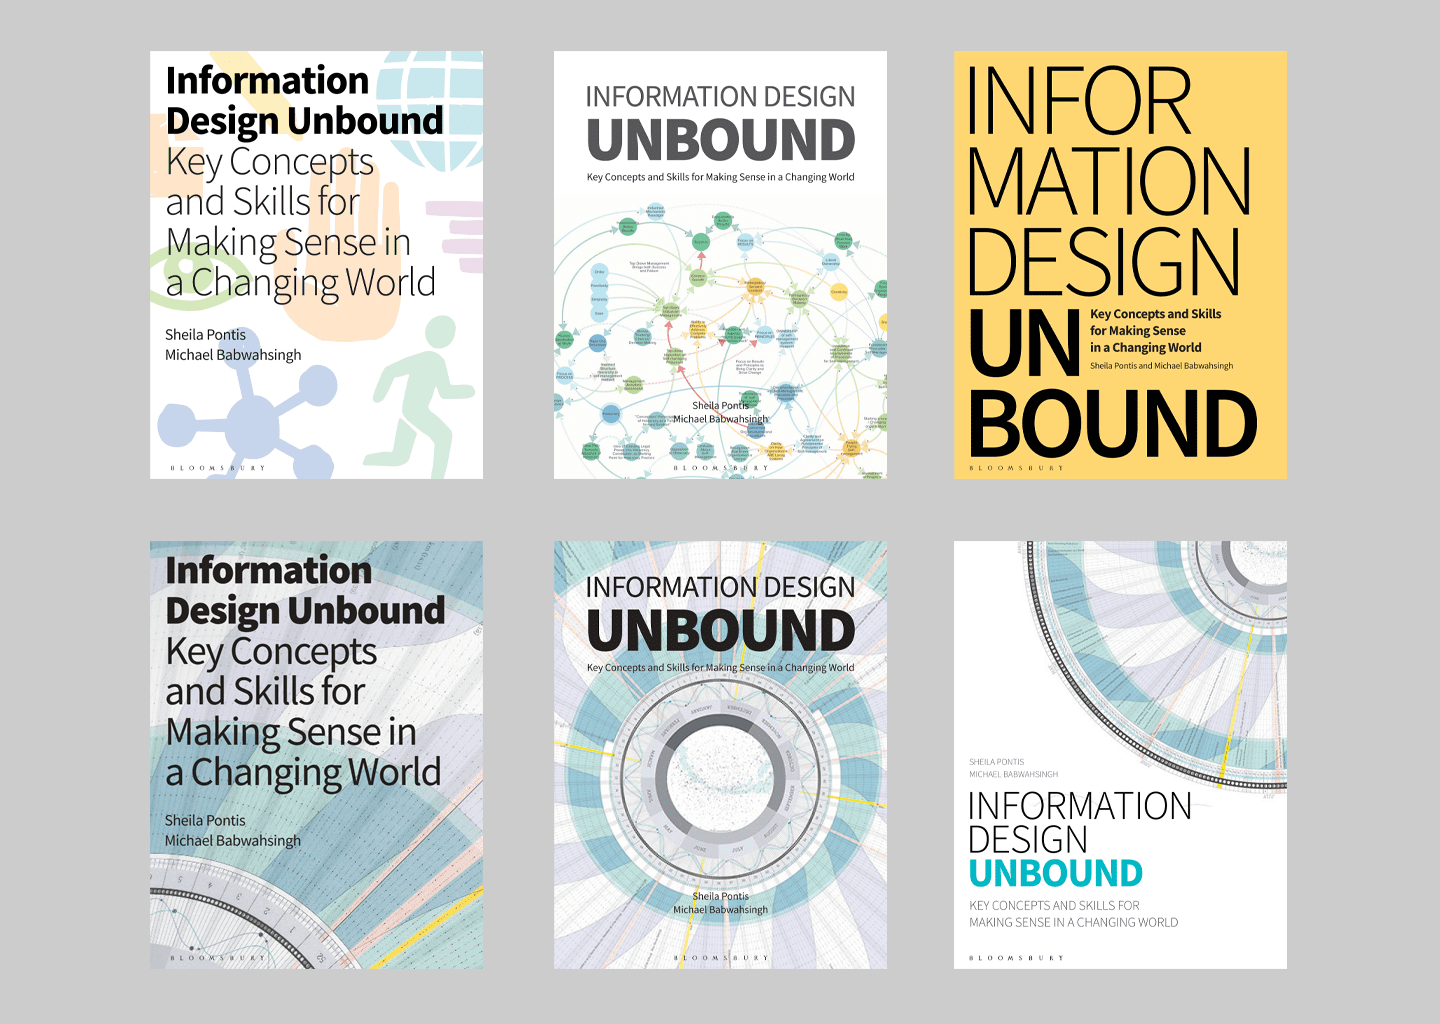
We sought to better communicate “unboundness” in different ways, though some options came out more conventional.
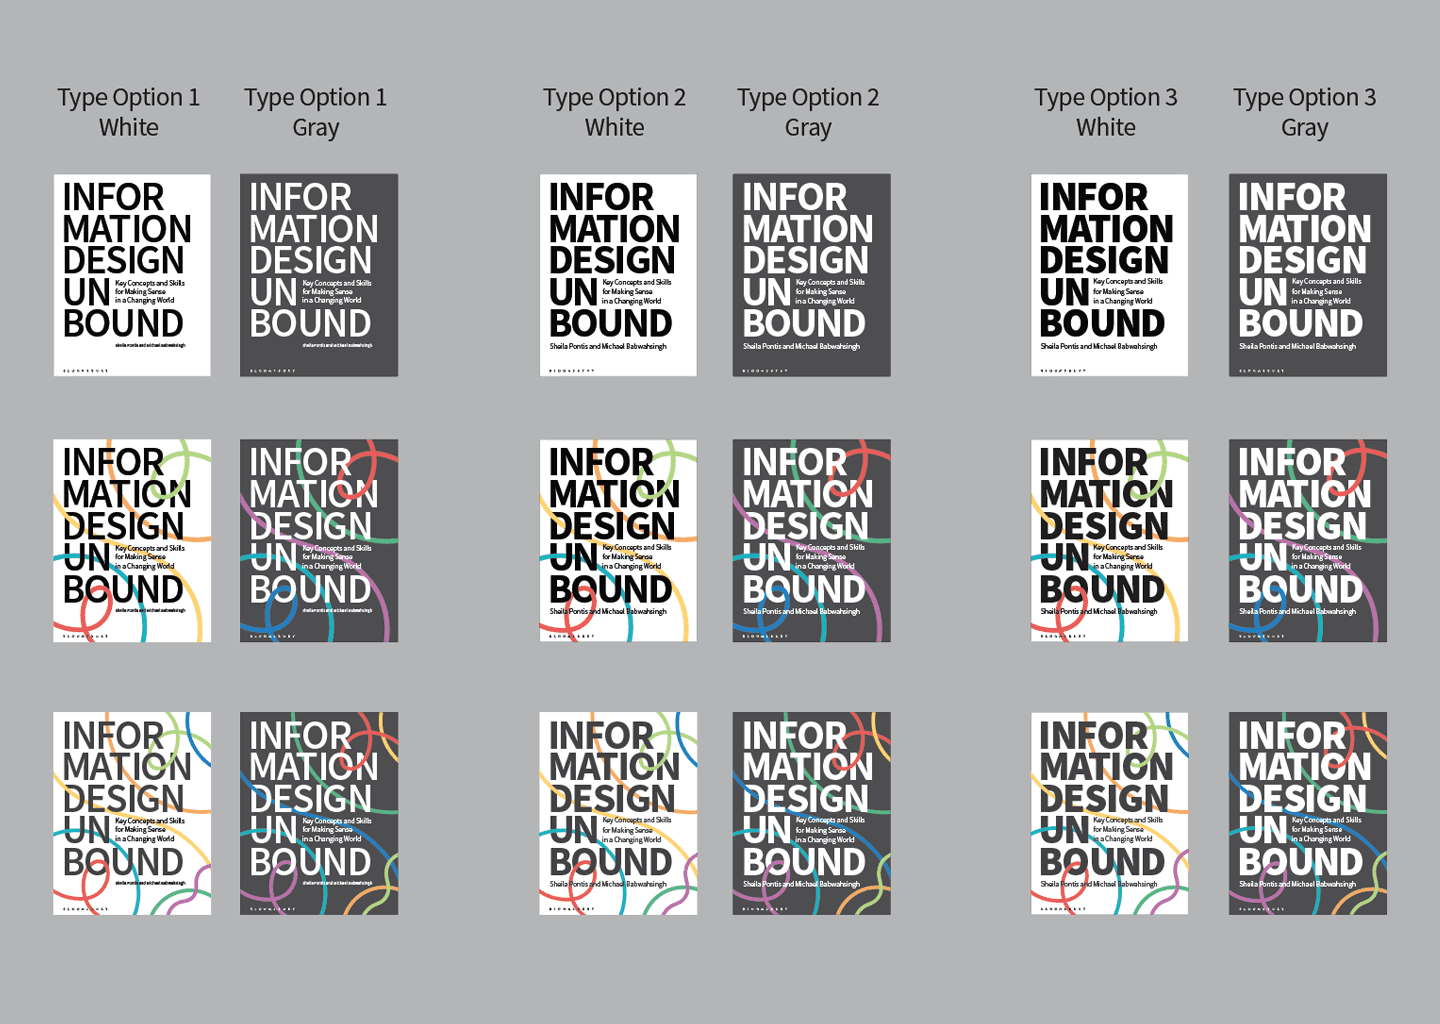
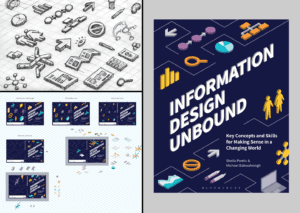
Our final direction centered on bold text and animated lines. We tested variations of type weight, background color, and line style.
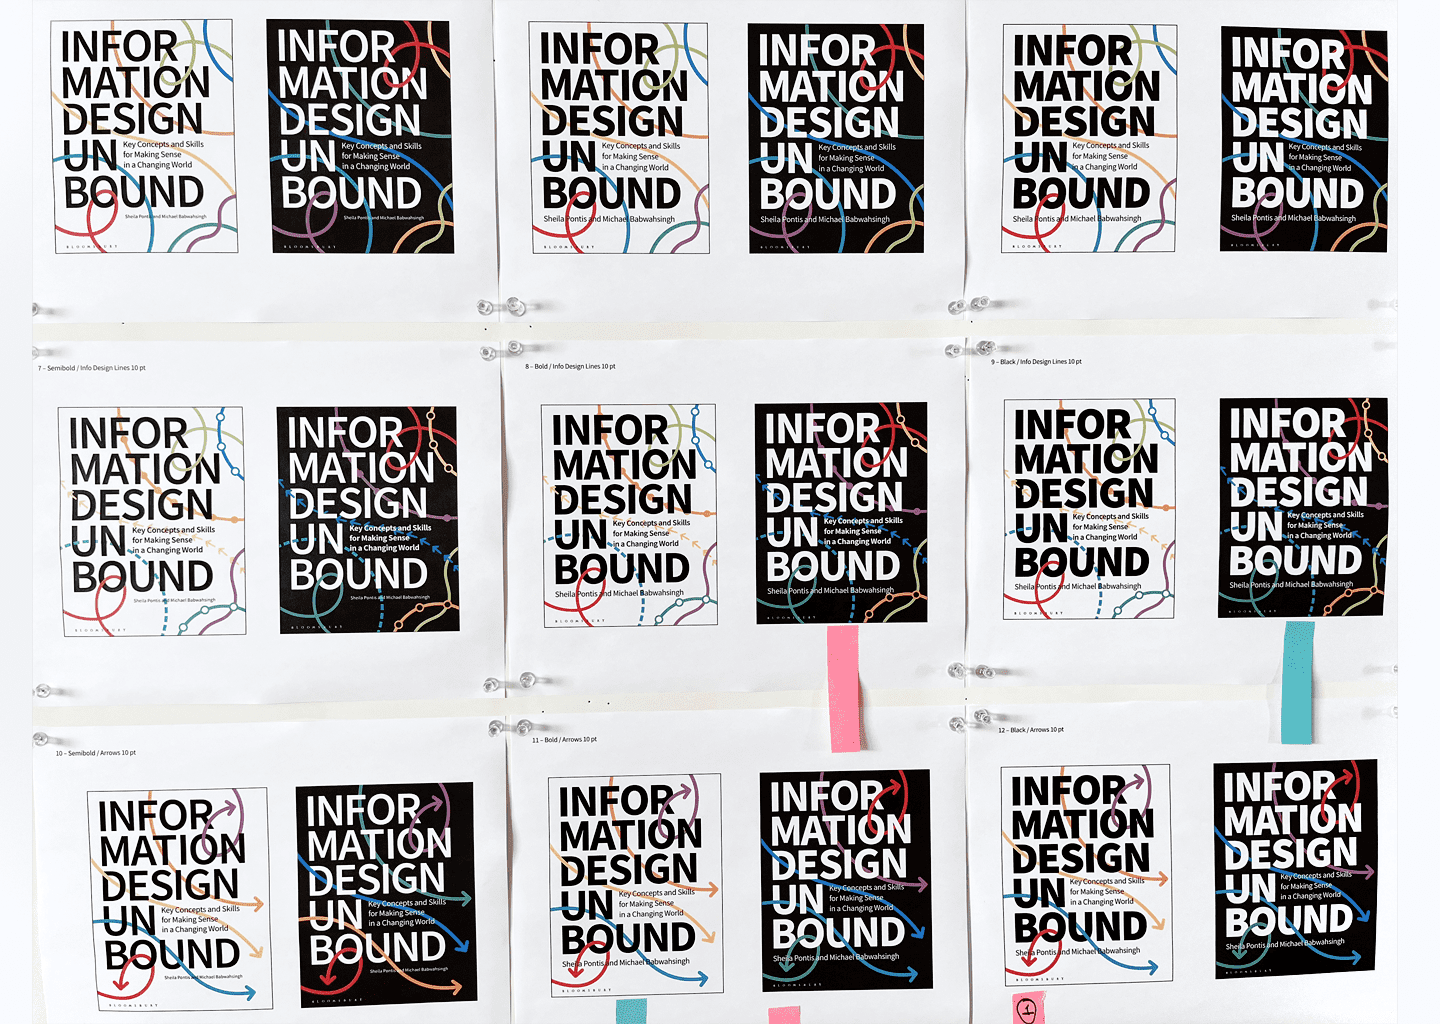
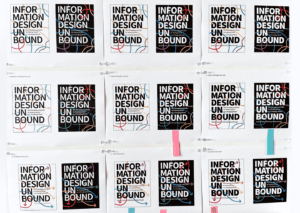
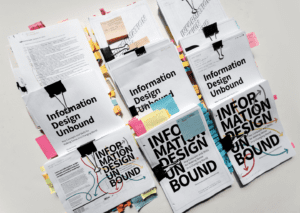
We further refined two cover options, printed them out, and also created full-size prototypes to aid decision-making.
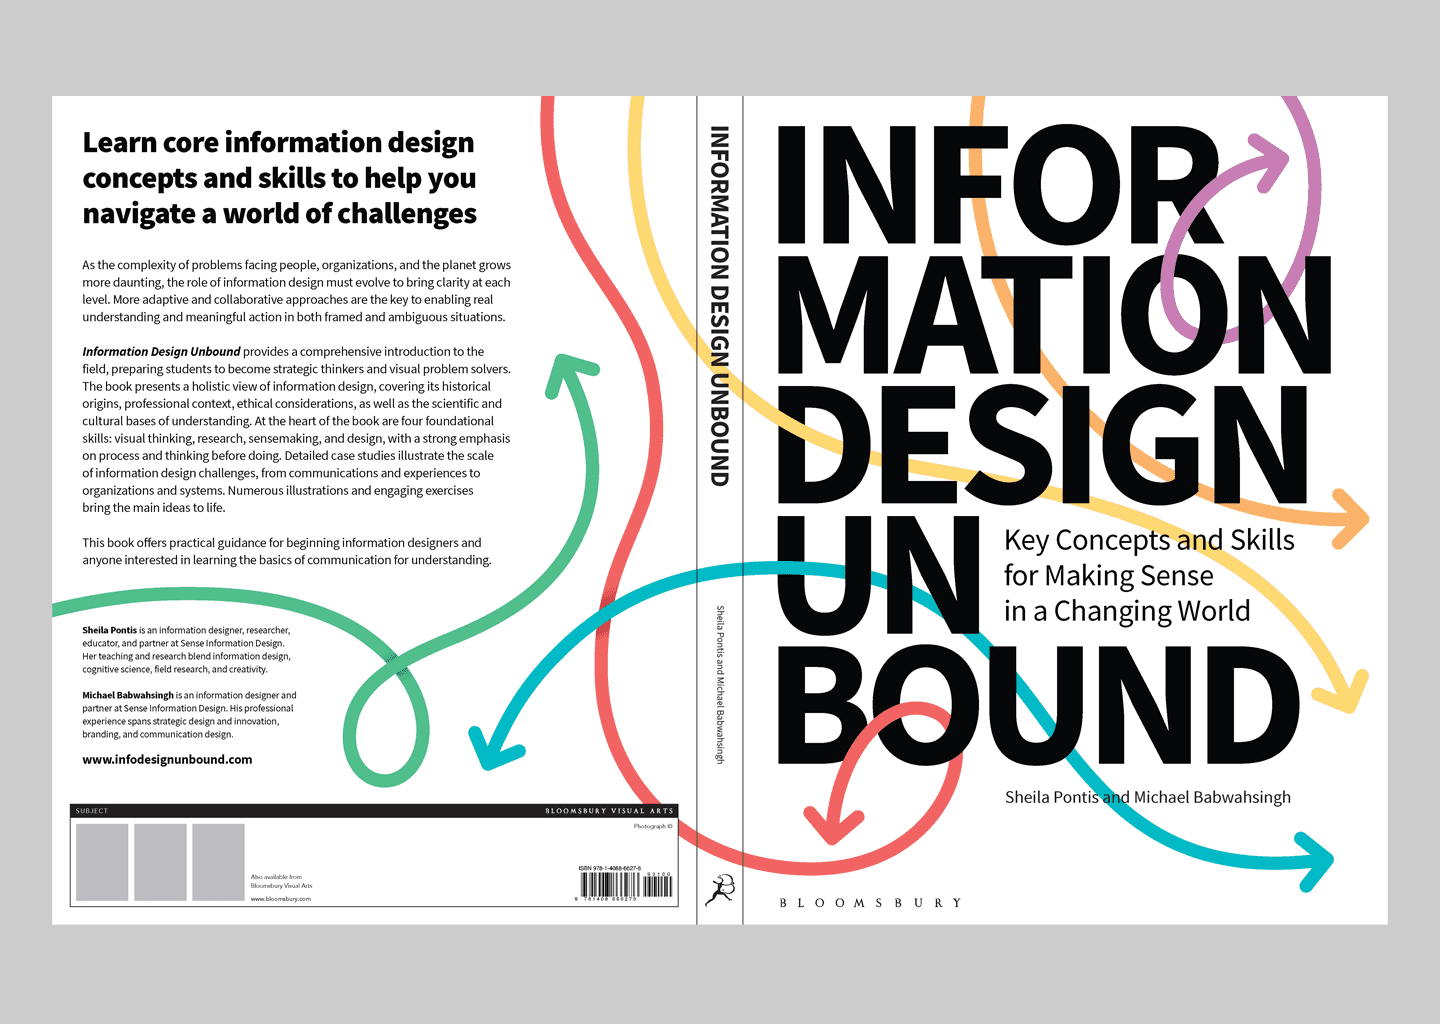
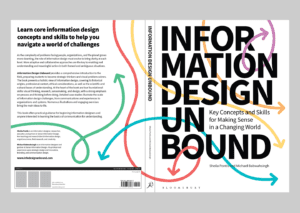
This near-final cover shows the wrap-around arrows and first layout of the back cover. The back changed to fit three endorsements.
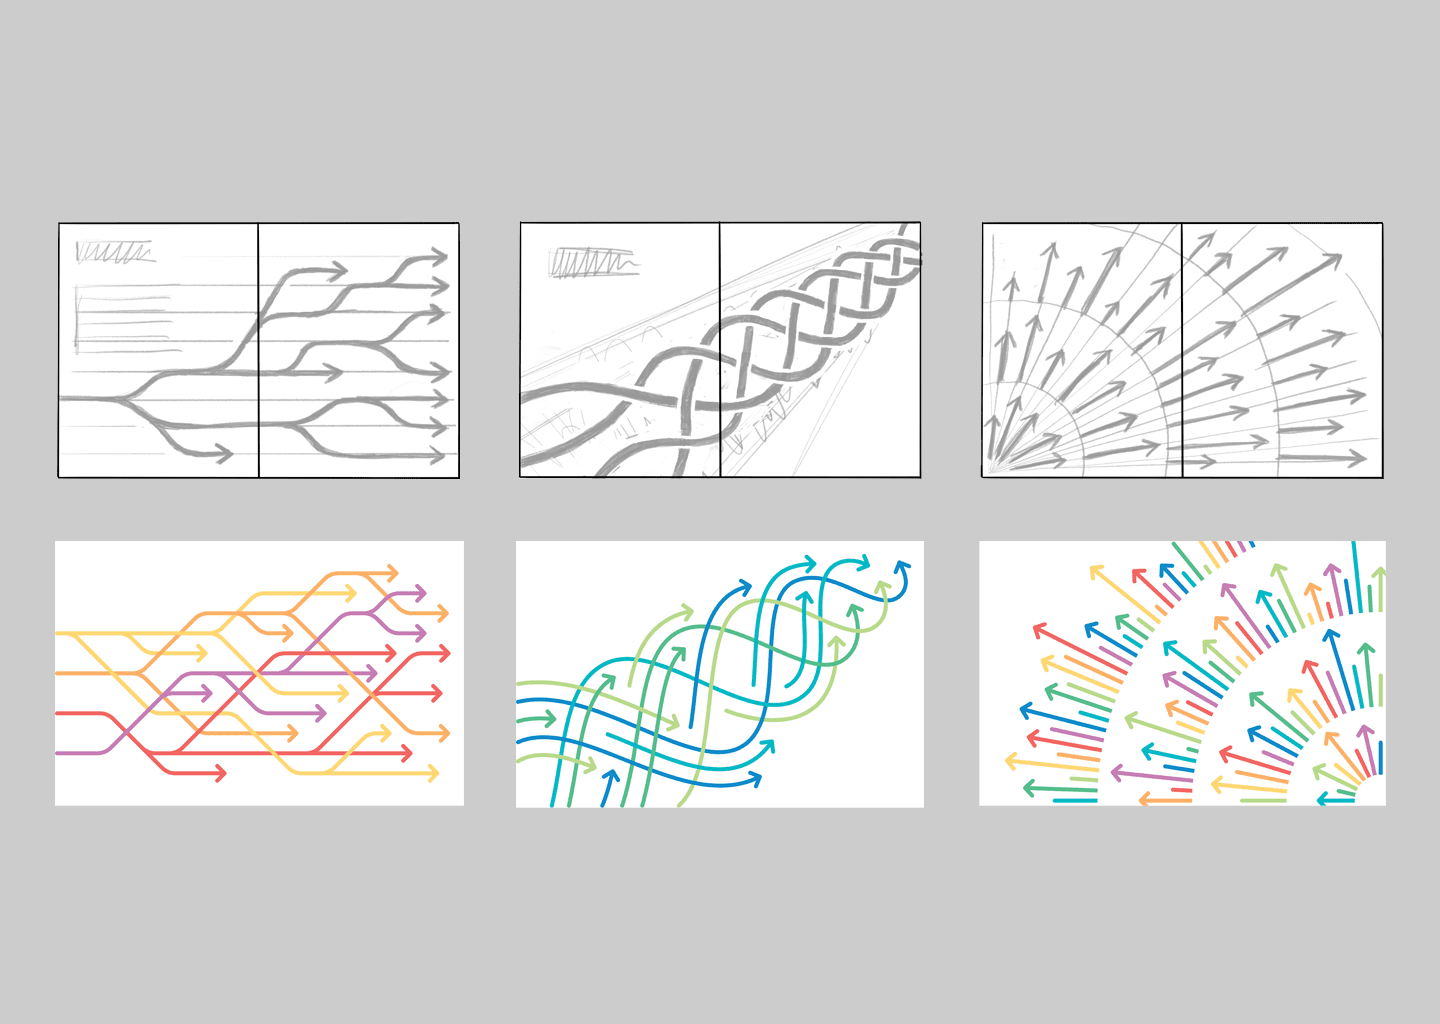
We carried the cover motif into the part dividers. We worked out the designs in sketch form before drawing them in Adobe Illustrator.
Visual language
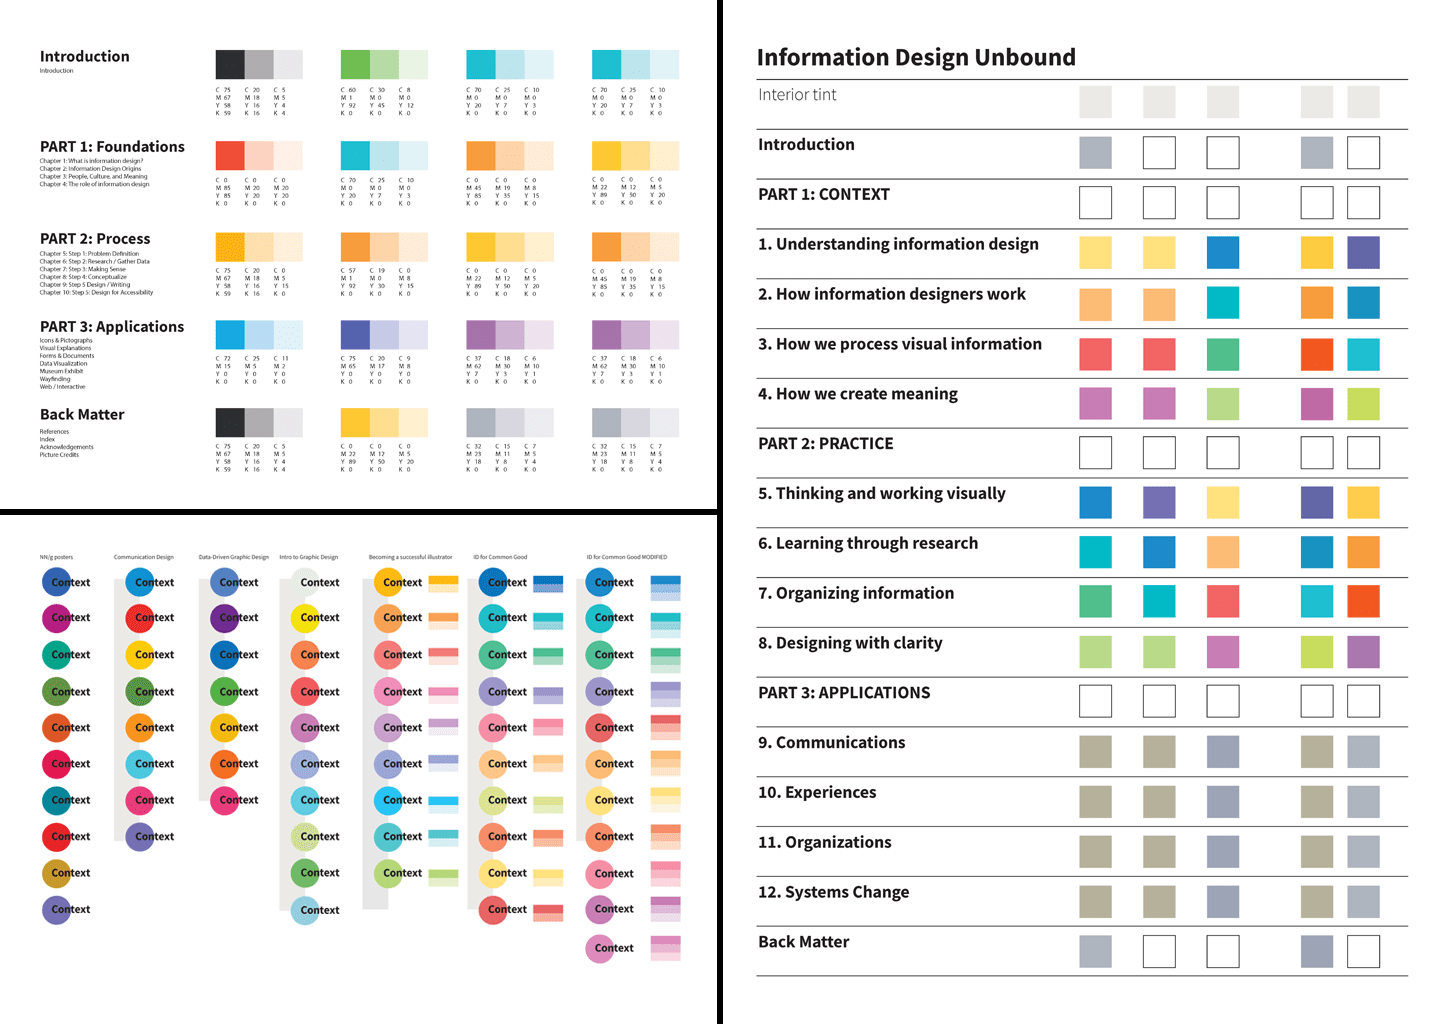
Numerous color studies helped us determine the most vibrant and distinct palette to color code chapters while maintaining good contrast.
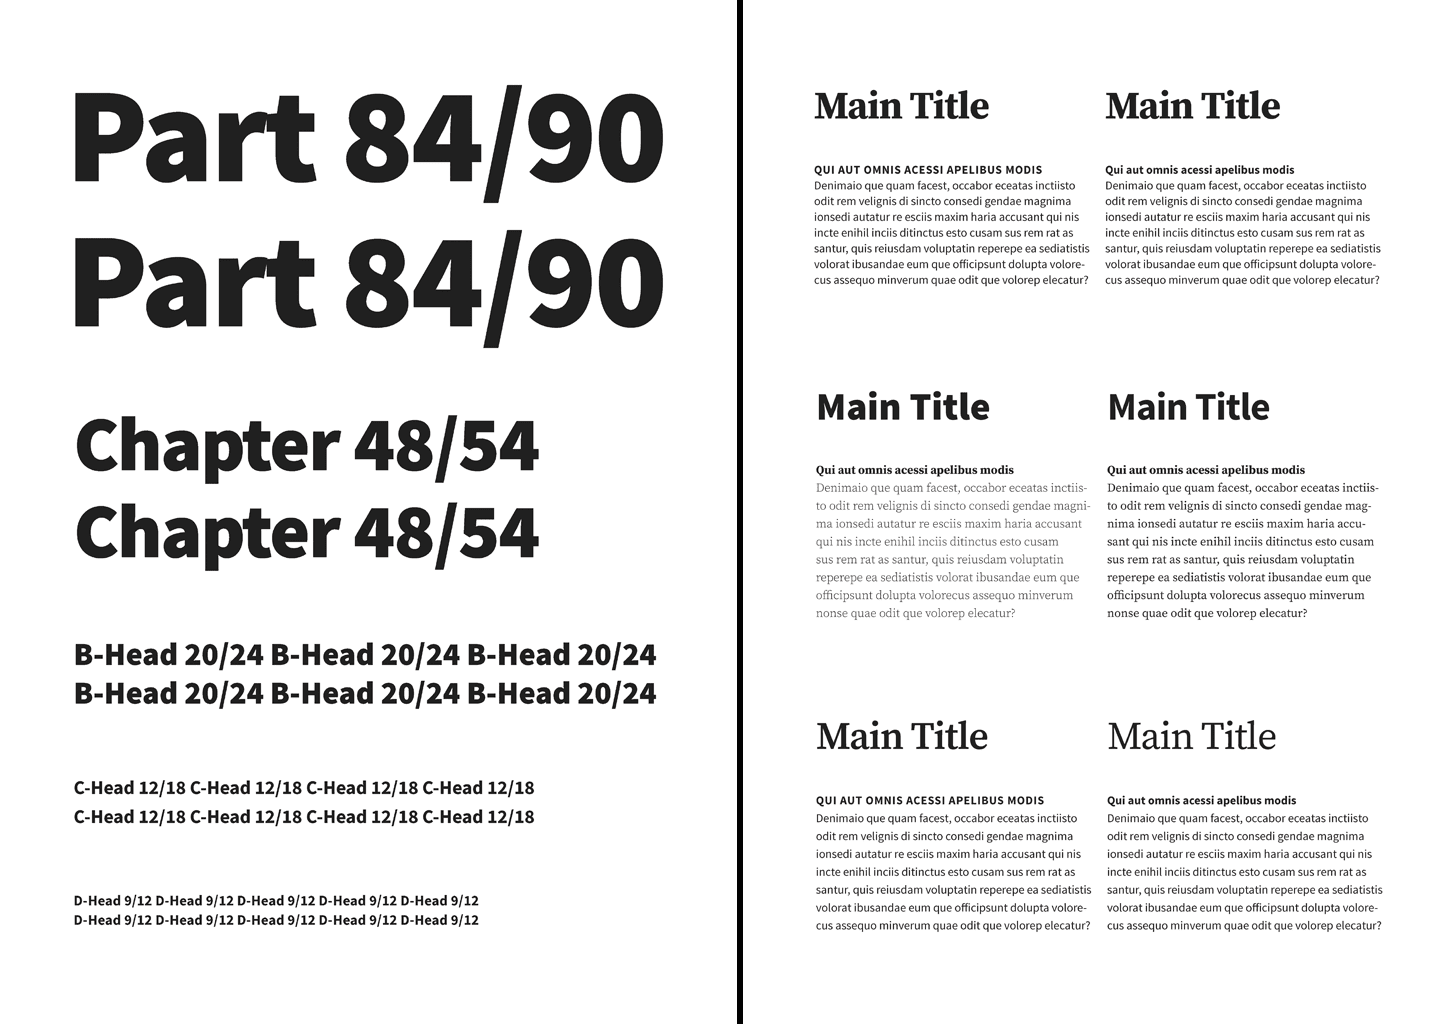
We chose Source Sans and Source Serif as our book fonts for their range of weights and versatility.
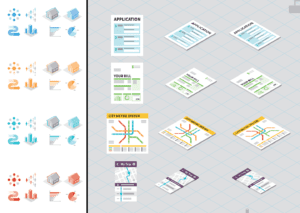
Early illustration style explorations used isometric perspective to add depth and dimension.

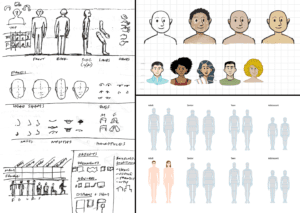
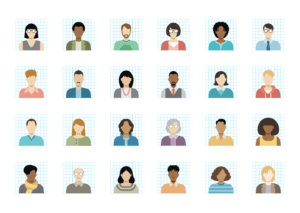
We looked at many different ways to represent people, considering diversity, range of expression, and ease of construction.
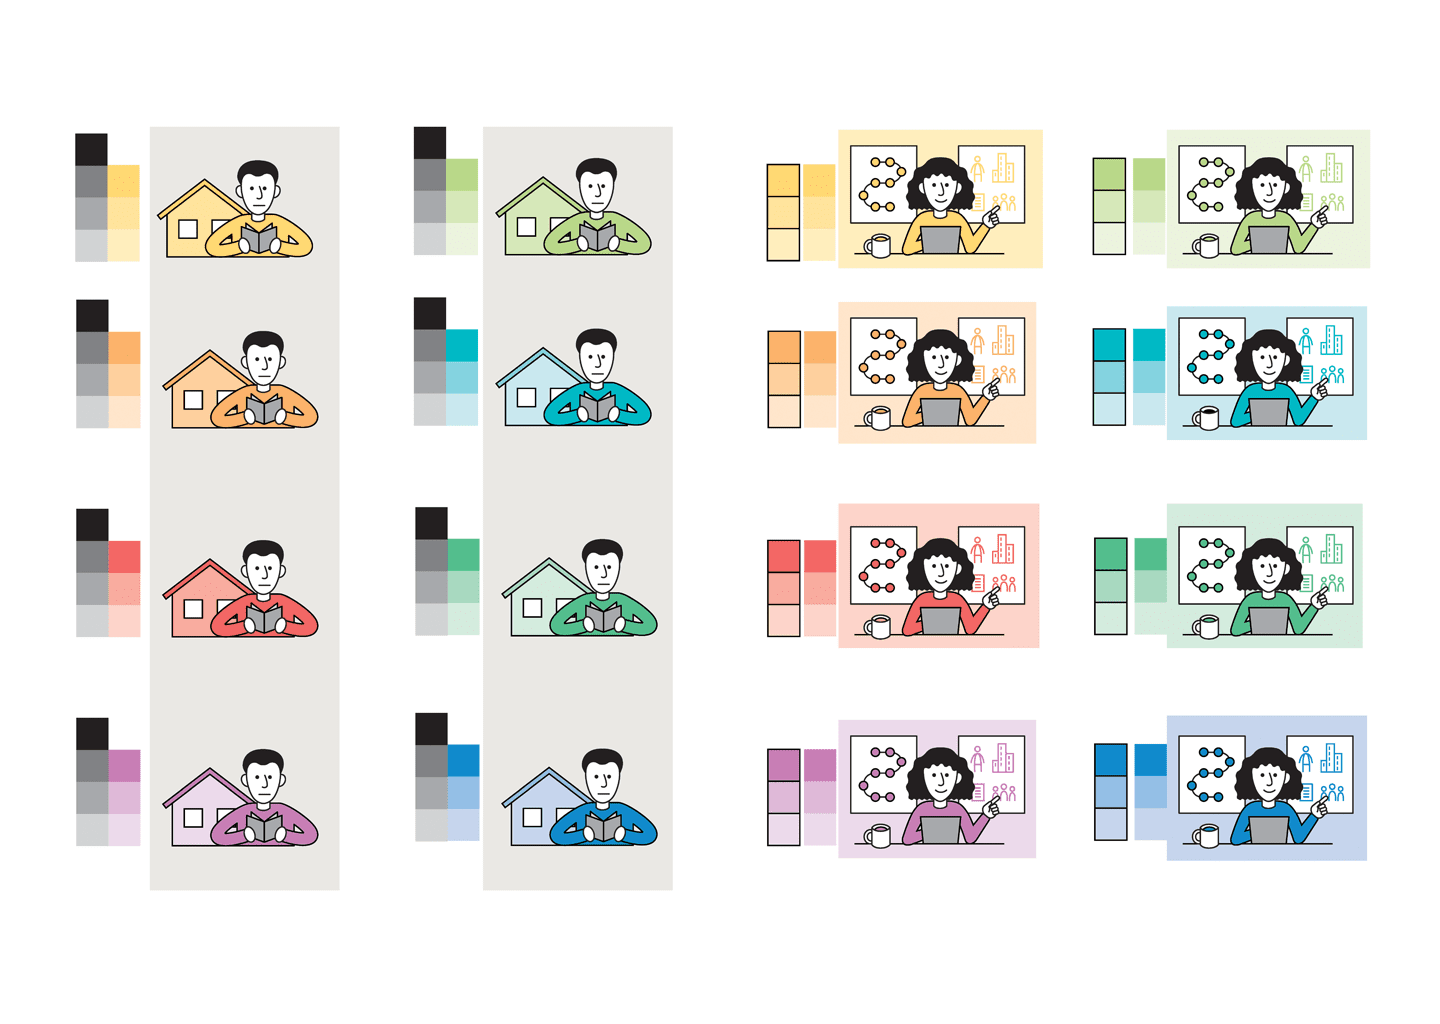
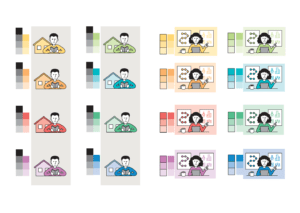
We leaned toward a simpler illustration style for people and tested out chapter color applications.

We decided on a flat graphic style for the final people, with enough visual variation to show diversity and character.
Layout
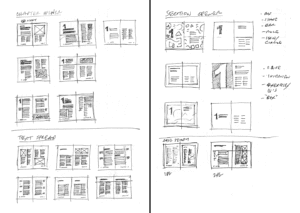


Ideas for the overall layout and the different part and section opener spreads took shape in thumbnail sketches.

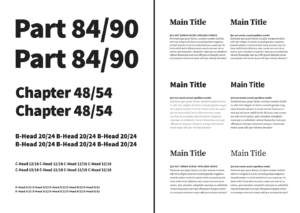
Once we had a clearer sense of the content types and text length we wanted, we developed more detailed sketches on pre-printed page grids.

We experimented with different page grids and text formatting to see how much text we could fit comfortably.

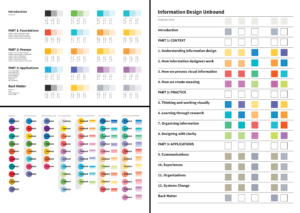
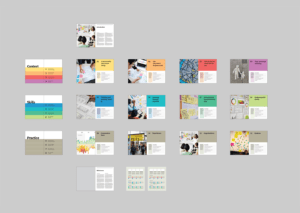
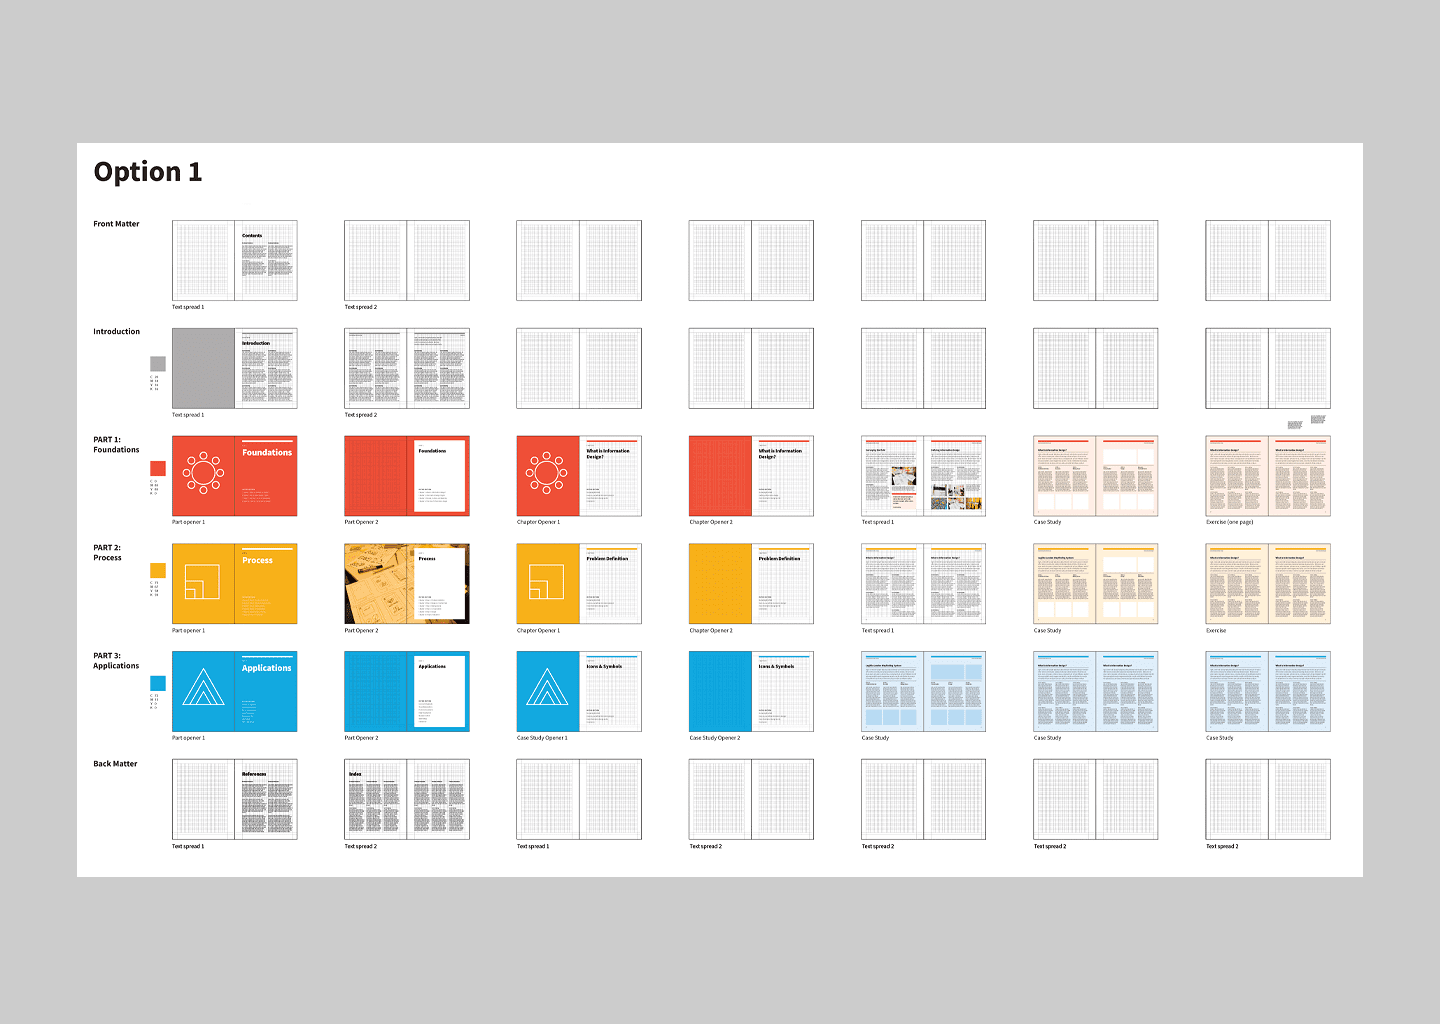
To help readers navigate the book, we explored color as a visual cue to signal chapter openers, interior pages, case studies, and exercises.
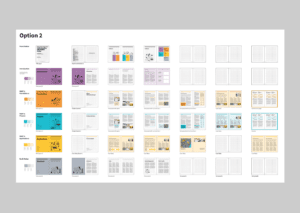
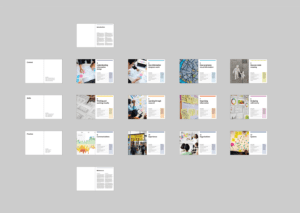
We created miniatures of each book spread type to test different visual languages before choosing one to apply to the design template.

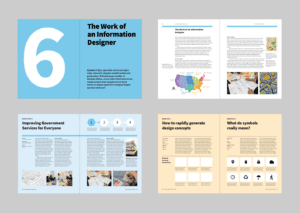
This version shows more detail and variety of page elements to make it feel more realistic.
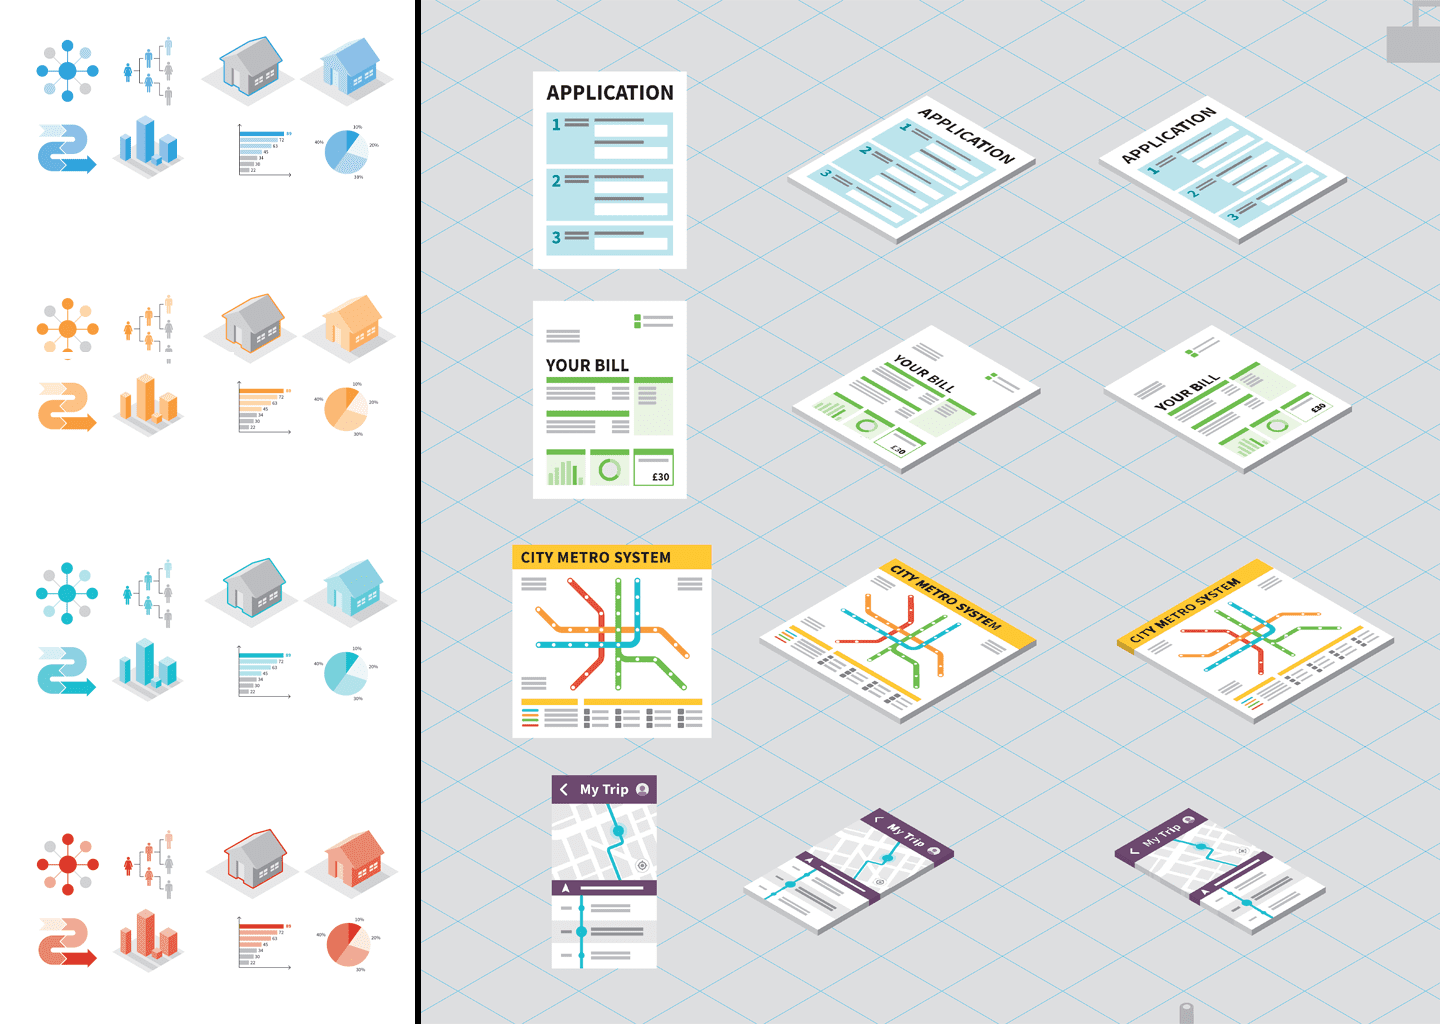
The visual language and layout developed in parallel. We tried out different color, type, and image combinations, as shown here and in the next two images.

In this test, the full-bleed photos and bold color started to compete in the chapter openers, so we had to choose between one or the other.

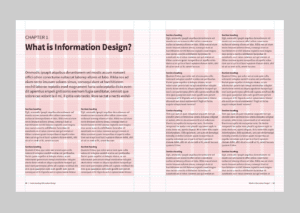
This is closer to the final chapter opener design; the right-hand page has more white space to let the image stand out.
Writing and revision


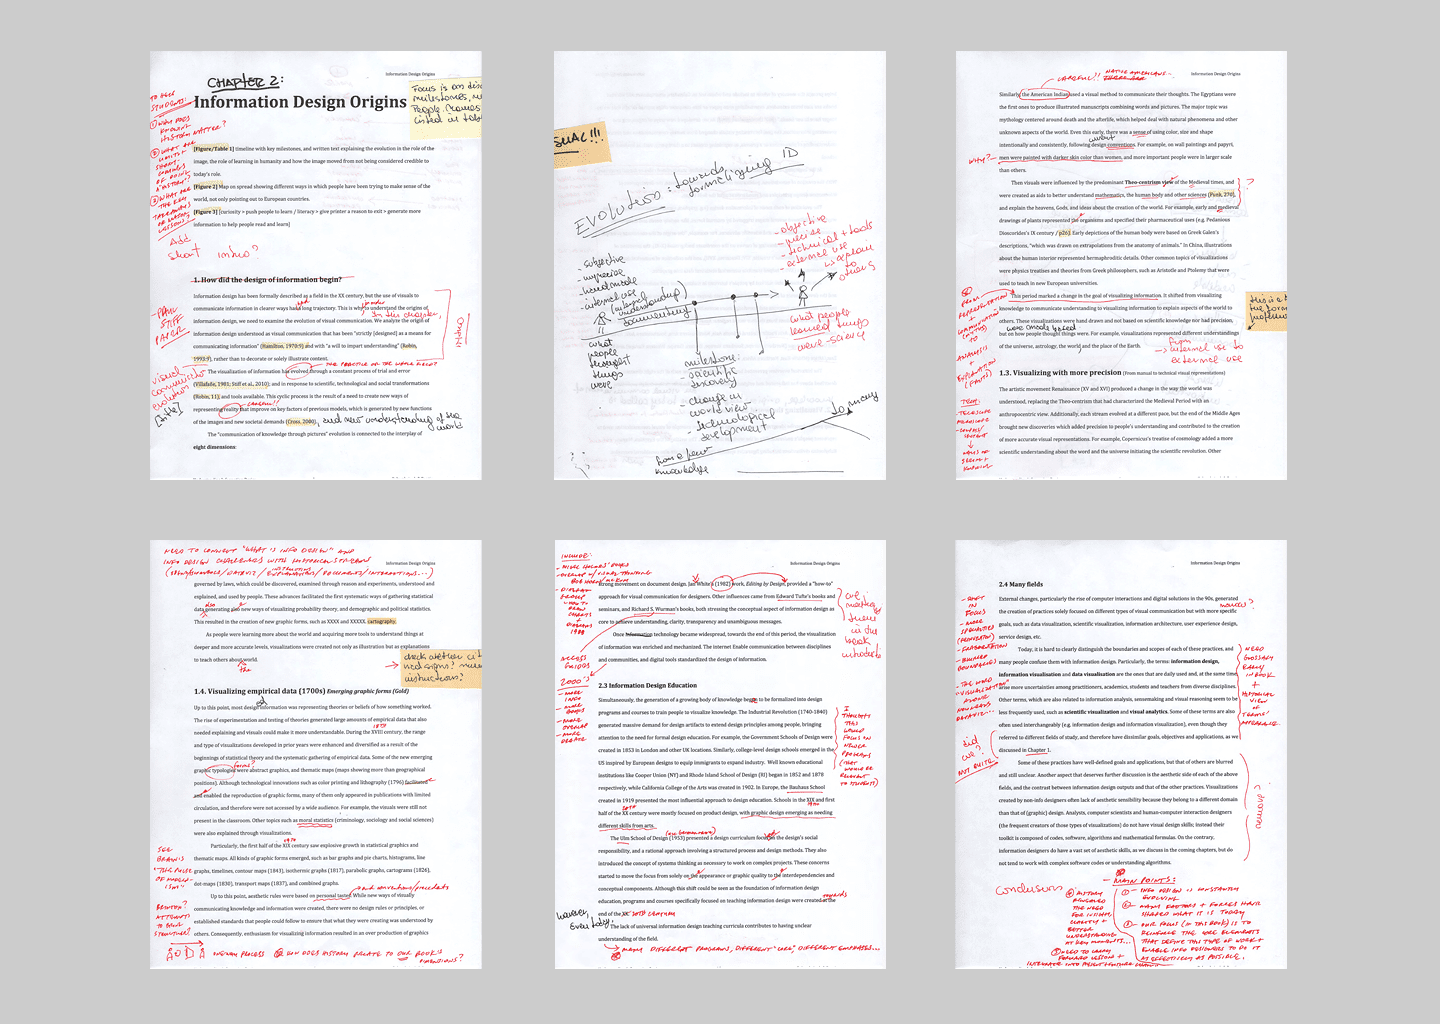
The first manuscript was a series of Word documents that we printed and marked up with edits and sketches.
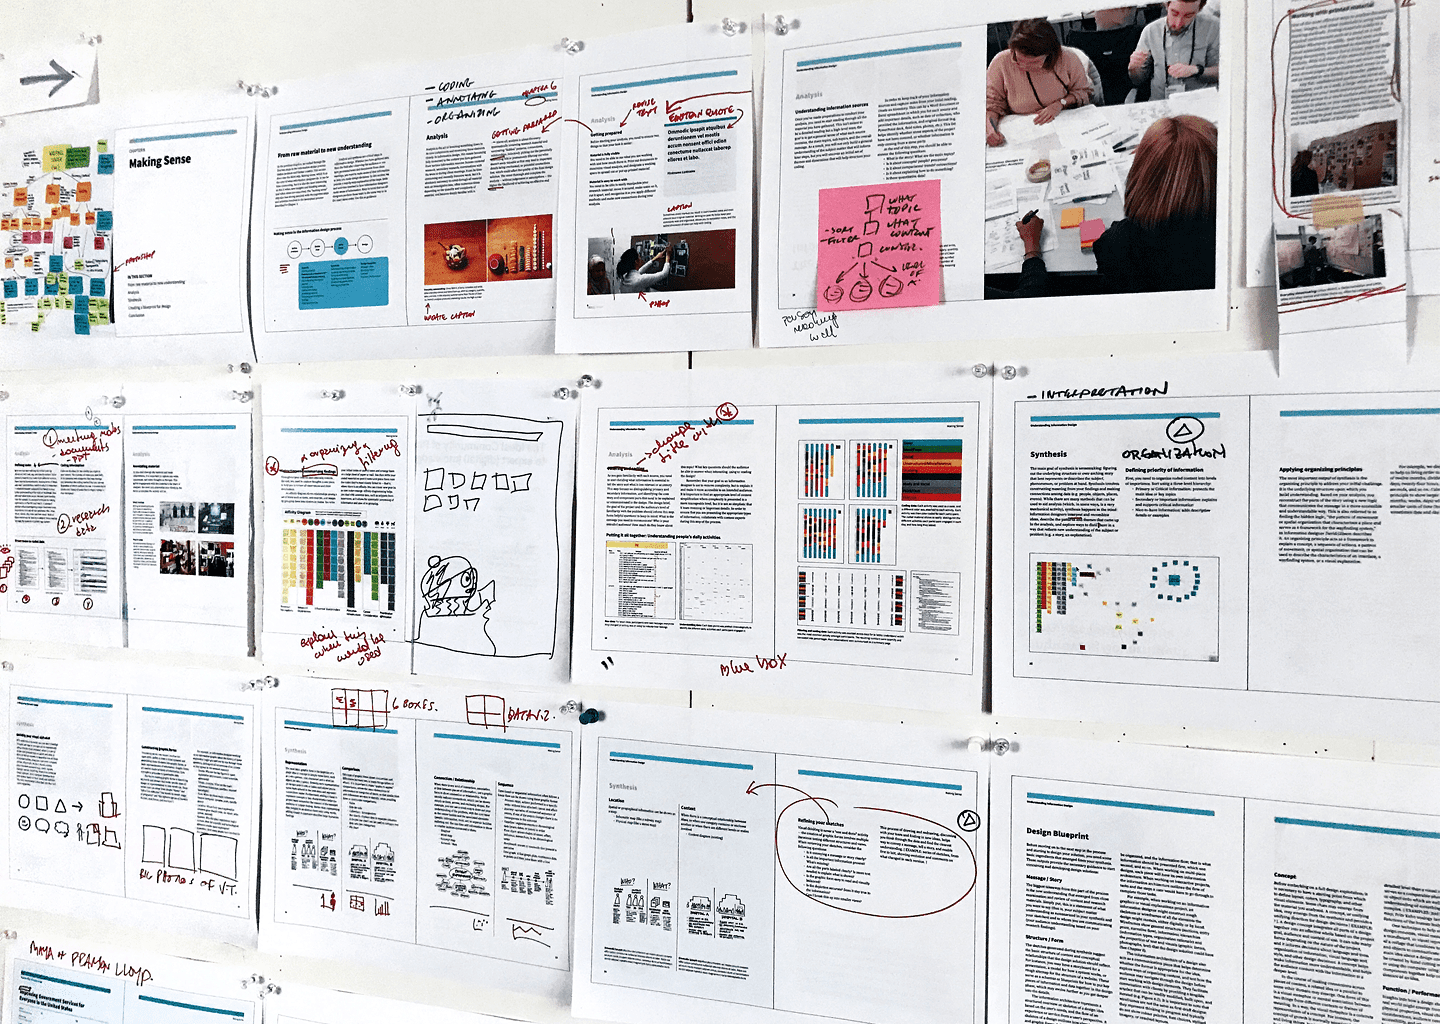
Once the text was laid out, we printed and pinned up chapter drafts, then marked content and layout edits.

We would often zoom out and view the entire book to identify content gaps and ensure visual consistency.

In total, we printed nine full drafts of the book that we would take turns reviewing before making edits.